







POSCA on Glass: The Ultimate Australian Guide to Creative Mastery
A plain glass window is the most underrated canvas in your home or shopfront. You've likely felt the frustration of watching your paint streak across a smooth mirror or seeing a beautiful design peel away after just one hot afternoon. It's a common hurdle for many Australian artists, but achieving a professional finish with POSCA on glass is entirely possible with the right technique.
At PoscART, we want to help you transform every transparent surface into a vibrant, colourful work of art that lasts. This guide provides the definitive framework for success, from essential preparation steps to choosing the right acrylic markers for your specific project. You'll discover how to achieve opaque, streak-free coverage and gain the confidence to seal your paint pens against the local climate. We'll cover everything from marker tip selection to the final bake or varnish, ensuring your creative mastery shines through.
Key Takeaways
- Learn the essential cleaning ritual to remove every trace of grease, ensuring your acrylic paint bonds perfectly to smooth, non-porous surfaces.
- Master the "light touch" technique when using posca on glass to prevent scraping and achieve vibrant, opaque designs every time.
- Discover how to distinguish between temporary window art and permanent decorative items by applying the correct heat-fixation or water-based spray varnish methods.
- Gain professional guidance on choosing the right marker tip sizes and understanding food safety limitations for your upcycled glassware projects.
Preparing Glass Surfaces for POSCA Paint Markers
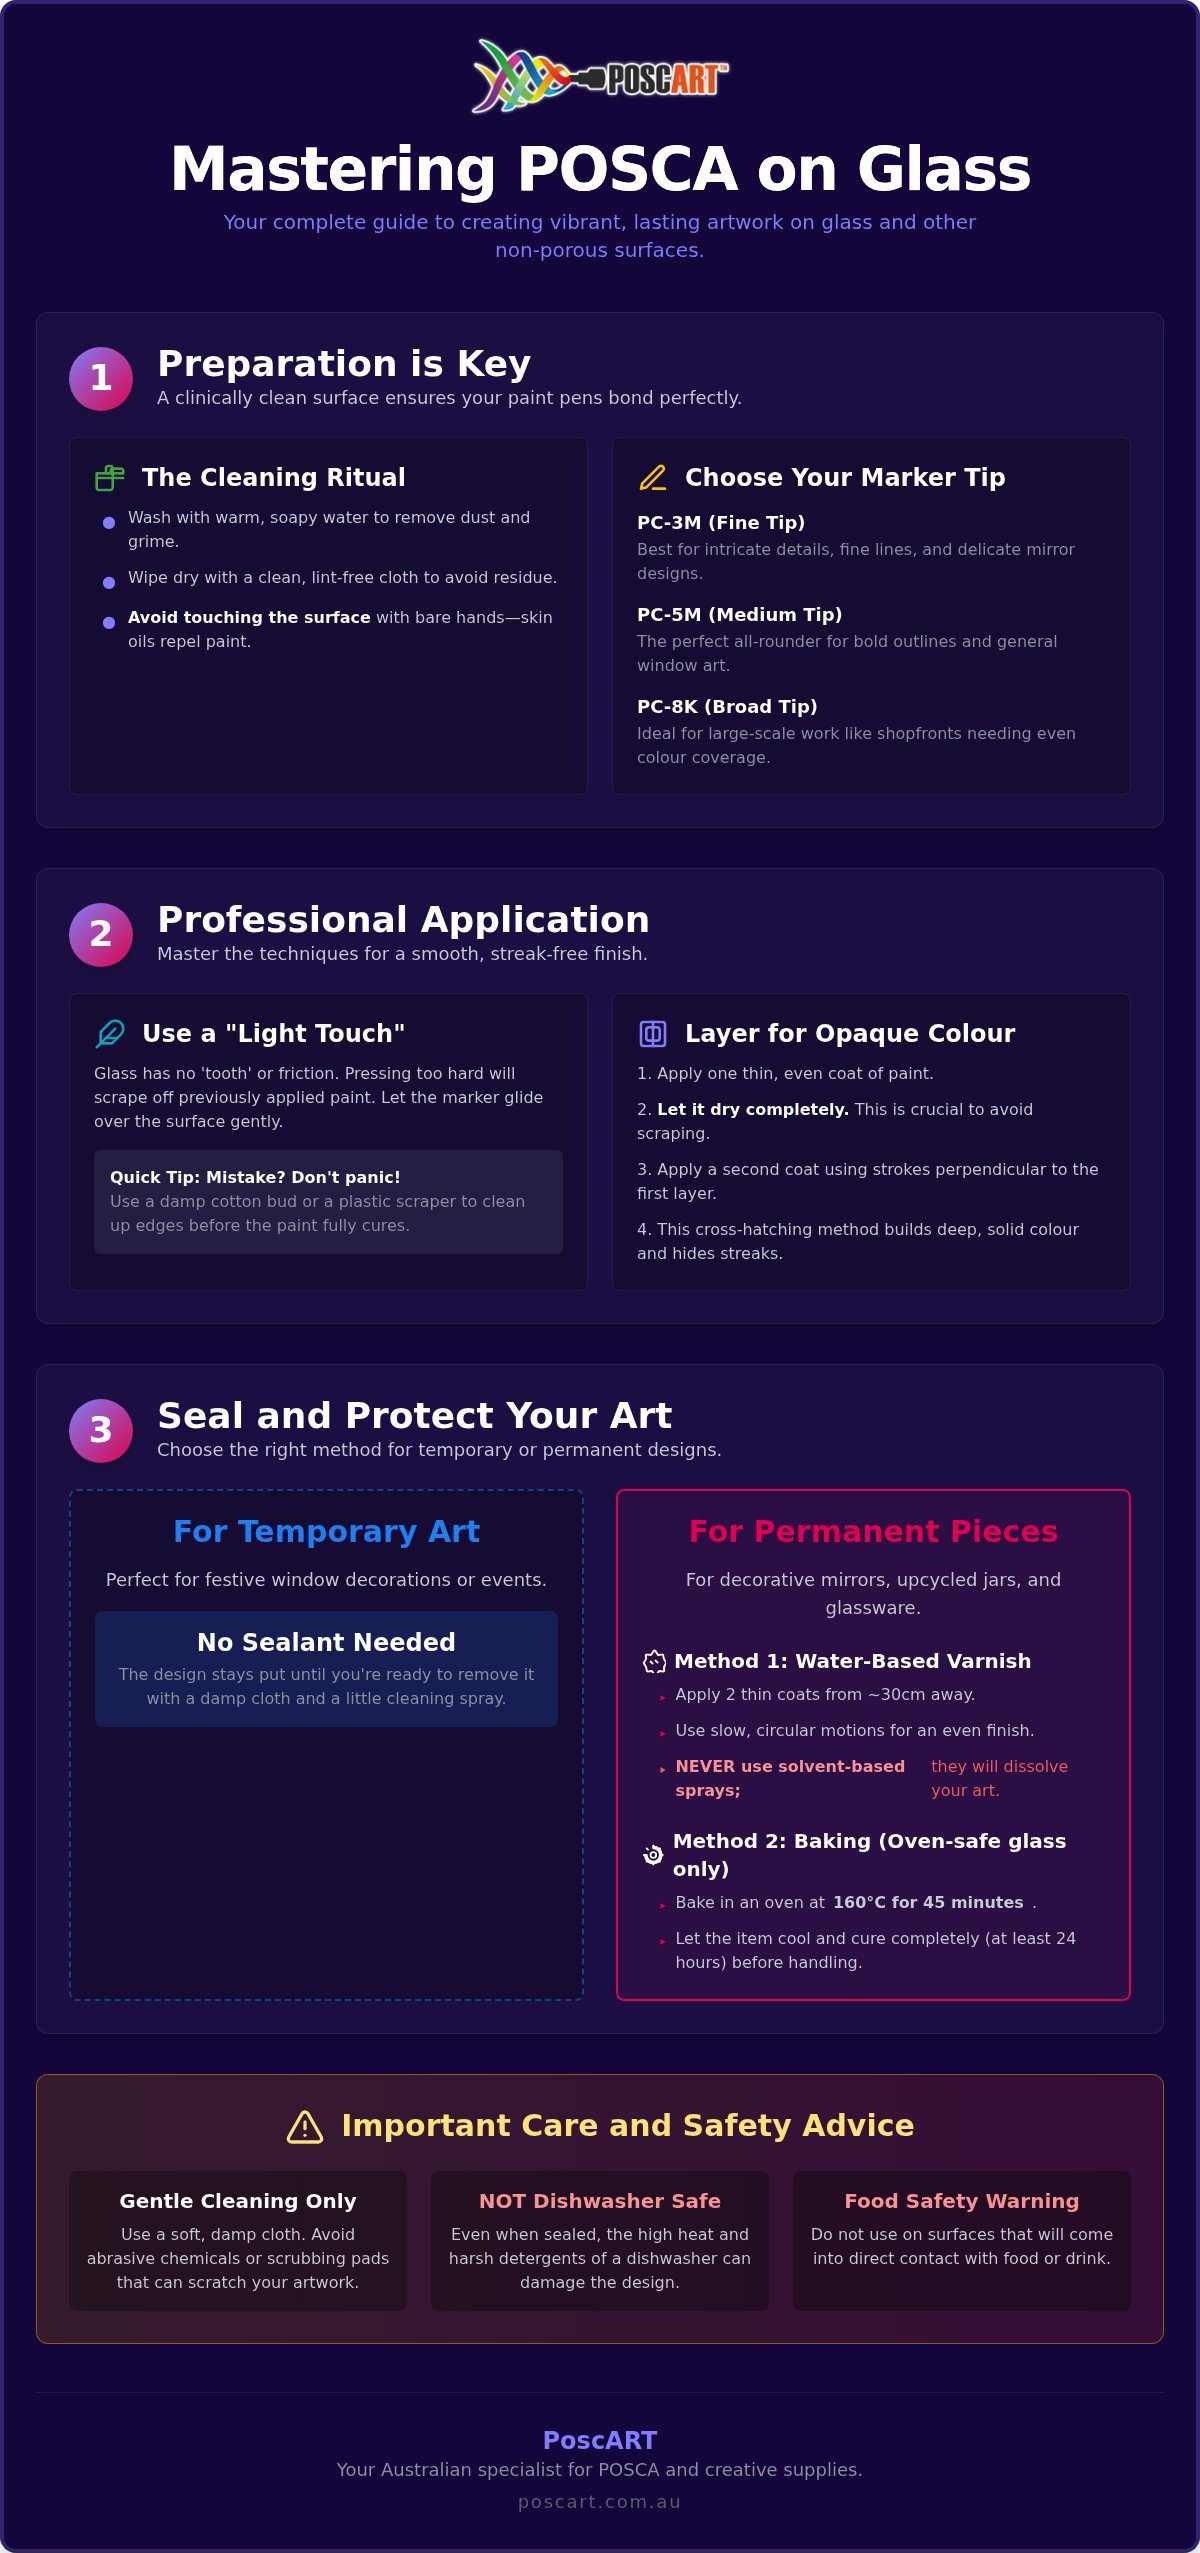
Glass is notoriously smooth. Unlike porous paper or wood, it lacks the natural "tooth" required for pigment to grip the surface effectively. Because Acrylic paint is water-based, any trace of grease or oil will cause the ink to bead up and roll off. This "beading" effect is the most common reason artists struggle with POSCA on glass. To achieve a vibrant, opaque finish, your surface must be clinically clean.
Start your prep with a thorough wash using warm, soapy water to shift surface dust. Once dry, wipe the area again with a fresh, lint-free cloth to ensure no residue remains. After cleaning, avoid touching the painting area with your bare hands. Your skin's natural oils act as a barrier that rejects the paint. It's best to hold your glassware by the very edges or wear light cotton gloves to maintain a pristine workspace.
Choosing the Right POSCA Tip for Your Glass Project
Matching your marker to your canvas size is vital for a professional result. For intricate mirror designs or detailed glassware, we recommend the POSCA PC-3M Fine Bullet Tip for its exceptional control. If you're creating general window art or need a versatile tool for bold outlines, the POSCA PC-5M Medium Bullet Tip is our favourite all-rounder. For those tackling large-scale shopfront signage, broader chisel tips like the PC-8K provide the necessary flow for even colour coverage across wide glass panes.
Techniques for Professional Application and Layering
Applying POSCA on glass requires a delicate hand. Unlike paper, glass provides zero friction, so your marker nib can easily scrape off wet paint if you press too hard. Mastering a "light touch" is essential for a professional finish. We recommend a "line-first" philosophy. Fine outlines and intricate patterns tend to be more durable on glass than large, solid blocks of colour, which are prone to chipping if the bond isn't perfect.
In the Australian heat, drying times can be deceptive. The paint often "skins" over in seconds, looking dry to the eye while the layer underneath remains fluid. Patience is your best tool here. If you make a mistake, don't panic. You can tidy up edges using a damp cotton bud or a plastic scraper before the paint fully cures. For more advanced tips on handling non-porous surfaces, check out this comprehensive guide to painting on glass.
Achieving Opaque Coverage Without Streaks
To get that solid, vibrant look, use a layering technique. Apply one thin, even coat and let it dry completely. Then, apply a second coat using perpendicular strokes. This cross-hatching method hides streaks and builds depth. Be careful of "puddling". Keep your marker nib primed on a scrap piece of paper first to avoid drips on vertical windows. For deeper insights into refined effects, explore our guide on POSCA Pen Techniques. If you're unsure about which tip size suits your design, feel free to get in touch with our creative team for advice.
How to Seal and Protect Your POSCA Glass Art
Deciding whether to seal your work depends entirely on your goal. If you're creating temporary festive window art, you don't need a sealant; the paint will stay put until you're ready to wipe it away with a damp cloth. However, for permanent decorative mirrors or glassware, a protective layer is vital. The golden rule for posca on glass is to use only water-based spray varnishes. Solvent-based alternatives can dissolve the acrylic paint, causing your design to bleed or smudge instantly.
Apply the varnish in slow, circular movements from a distance of approximately 30cm. This ensures an even coat without the risk of drips. In the humid Australian climate, it's best to apply two thin coats rather than one heavy one. As an alternative for oven-safe items, you can bake the glass at 160°C for 45 minutes to fix the design. Once finished, let the piece cure or cool for at least 24 hours. This waiting period allows the bond to fully stabilise before the item is handled or moved.
Cleaning and Long-Term Maintenance of Glass Art
Even with a professional seal, you must treat your artwork with care. It's a strict requirement to remember that POSCA on glass is not dishwasher safe and should never be used on surfaces that come into direct contact with food or drink. Practise gentle cleaning by using a soft, damp cloth. Avoid abrasive chemicals or scrubbing pads that could scratch the varnish and your posca on glass designs. For a detailed comparison of how these markers behave on other materials, explore our guide on What Surfaces Do POSCA Pens Work On?. This knowledge ensures your creative projects remain vibrant for years to come.
Bring Your Glass Surfaces to Life
Mastering the art of posca on glass comes down to three essential steps: clinical preparation to prevent beading, a light touch for streak-free layering, and the correct water-based sealant for longevity. Whether you're decorating a shop window for the holidays or personalising a mirror as a unique gift, these techniques ensure your vibrant designs stay exactly where they belong.
As an authentic POSCA specialist and family-owned business, PoscART is here to support your creative journey with the full range of tip sizes and fast Australian shipping. We're dedicated to helping you achieve the best results on every surface. Browse our range of genuine POSCA Markers for your next glass project. Grab your markers and let your imagination take over your windows; the world looks much better through your art.
Frequently Asked Questions
Is POSCA permanent on glass?
No, POSCA markers aren't naturally permanent on glass because the surface is non-porous. Without intervention, the paint stays on the surface but can be scratched or wiped away. To make your posca on glass designs permanent, you must bake the item in an oven at 160°C for 45 minutes or apply two coats of water-based spray varnish.
Can I use POSCA markers on windows for temporary displays?
Yes, these markers are an ideal choice for temporary window displays in Australian homes or cafes. The acrylic paint is opaque and vibrant, making it highly visible from a distance. Because the glass hasn't been sealed or heat-fixed, you can simply wipe the design away with a damp cloth and soapy water when you're ready to change your display.
How do I seal POSCA art on a glass mirror?
Sealing art on a mirror requires a water-based spray varnish to prevent the paint from smearing or dissolving. Hold the can approximately 30cm away and apply the sealant using slow, circular motions. It's best to apply two thin coats, allowing the first to dry completely. This creates a protective barrier that resists dust and light handling while preserving your artwork.
Are POSCA markers dishwasher safe once varnished?
No, POSCA markers are never dishwasher safe, even after being varnished or heat-fixed. High temperatures and abrasive detergents will likely peel or dissolve the paint. These markers aren't suitable for food-contact surfaces either. For the best results, always hand wash your decorated glassware gently using a soft cloth and mild, non-abrasive soapy water to ensure the design lasts.
What is the best way to remove POSCA from glass if I make a mistake?
If the paint is still wet, you can easily wipe it away with a damp cloth. For dried mistakes, a damp cotton bud works well for precision cleaning. If you need to remove a larger dried section of posca on glass, a plastic scraper or a glass-safe blade will lift the paint without scratching the delicate surface underneath.
General Information
This article is provided as general information only to help customers compare and choose POSCA markers, acrylic markers, art supplies, creative tools and related products. Product details, colours, finishes, surface suitability, availability, pricing and usage results may vary. Always check the individual product page, manufacturer information, age guidance, surface instructions and safety recommendations before purchasing or using a product.